


How to Wrap a Gift Box (Step-by-Step Guide for a Clean Finish)
- Feb 21
- 3 min read
Updated: Apr 13
Learning how to wrap a gift box neatly isn’t about being “crafty.” It’s about clean folds, accurate measuring, and understanding where the paper should land.
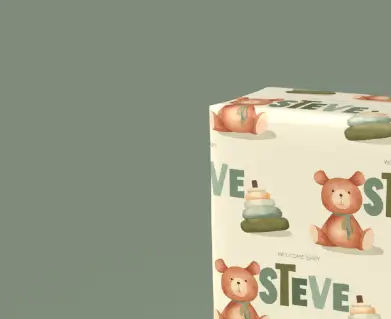
Once your technique is solid, the right paper design makes all the difference. Whether you're wrapping a birthday present, holiday gift, or bridal shower box, this step-by-step guide will show you exactly how to wrap a boxed gift so it looks smooth, balanced, and photo-ready.
Step 1: Set Up a Clean Wrapping Surface

Start on a large, flat surface like a table or clean floor.
Unroll your wrapping paper with the decorative side facing down.
Keeping the paper face down allows you to measure and fold without scratching or creasing the visible side.
Place scissors and tape nearby so you’re not scrambling mid-wrap.
Step 2: Position the Box Correctly

Place the gift box upside down on the back of the wrapping paper.
The top of the box should touch the non-decorative side of the paper.
Align the box so its long side runs parallel to the cut edge of the paper.
This helps keep seams centered and clean.
If you're unsure how much paper you need before cutting, review how to measure wrapping paper properly to avoid cutting it too short.
Step 3: Measure and Cut the Wrapping Paper

Pull one side of the paper up and over the box until it reaches the base.
Then bring the opposite side up and over to overlap slightly.
You want enough paper to fully cover the box — plus about 1–2 inches for overlap.
Cut the paper in a straight line.
For cleaner edges, hold the paper taut and use long scissor strokes.
Step 4: Wrap and Secure the Long Edges

Pull one long side of the paper tightly over the box and tape it down.
Then fold the raw cut edge of the opposite side inward by about 1 inch to create a clean seam.
Bring it over the first layer and secure it with tape.
Keep the seam centered on the bottom of the box for the most professional look.
Step 5: Fold the Corners Neatly

Now move to the open ends.
Fold the left and right sides inward to create clean triangular flaps.
Press along the box edges to create sharp creases.
Fold the top flap downward.
Tuck the bottom flap’s raw edge inward for a clean finish.
Tape the bottom flap in place.

Repeat on the other side.
If your corners look bulky, review common gift wrapping mistakes to see what usually causes uneven folds.
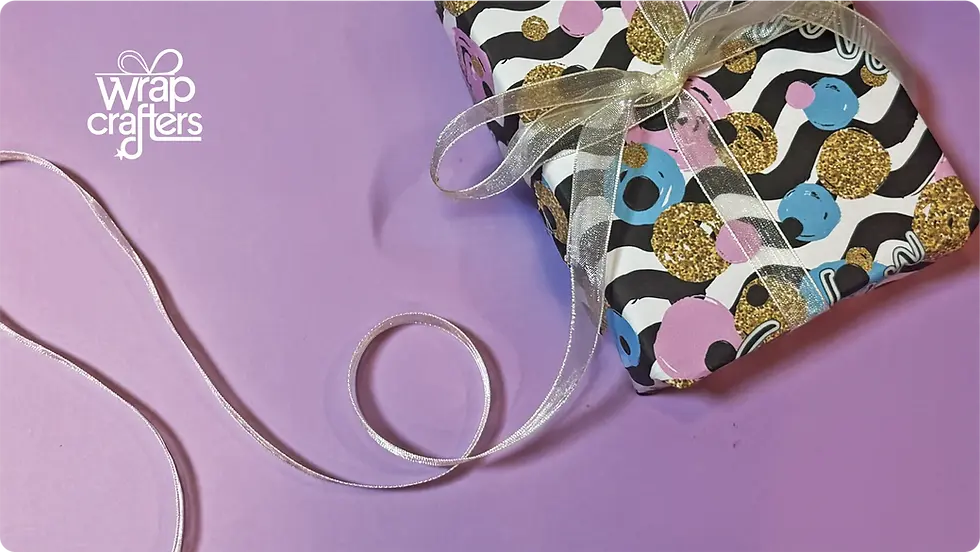
Step 6: Add Ribbon for a Polished Finish

To elevate your wrapped gift box, add a ribbon cross-wrap.
Wrap the ribbon vertically and horizontally around the box and tie a simple bow at the top center.
If you’re unsure how much ribbon to cut before tying the bow, use this ribbon length formula so you don’t waste material.
Pro Tips for a Professional-Looking Gift Box
• Crease edges firmly with your fingers
• Keep seams centered on the bottom
• Use matte tape so it disappears
• Don’t overload with ribbon and bows
Clean and minimal almost always looks more elevated than overdone.

Final Thoughts
Wrapping a gift box neatly doesn’t require complicated techniques — just careful measuring, tight folds, and attention to corners.
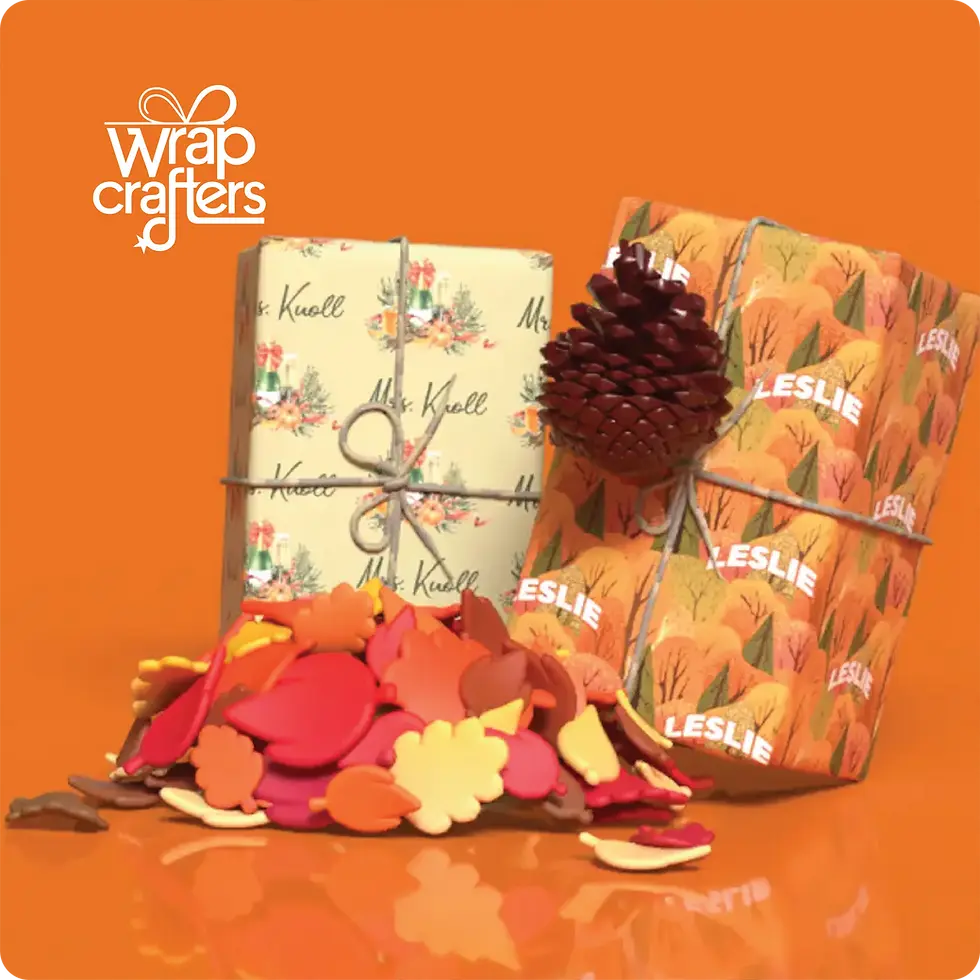
Once you’ve mastered the basics, you can experiment with patterned paper, layered ribbons, or seasonal designs.
For a full breakdown of wrapping tools, prep, and styling ideas, see the complete gift wrapping guide.


Comments